Blowhole
Elsewhere in this page I talk about AirTouch, and how it can enable to create devices that can recognize where they are being touched using principles of fluid dynamics. While it’s a super cool technique that can successfully create touch-sensitive devices using 3D-printers and practically no assembly, it has some drawbacks. The designer needs some intervention after the devices finish printing, flushing extra resin from the channels, connecting multiple tubes and using an air compressor to power these devices.
Blowhole is a response to these issues. Blowhole is a technique that allows designer to tag 3D-printed objects using blowing-activated tags. Blowhole devices are immediately usable after printing, no post-print tasks required, and are powered by their user’s lungs.
How does it work? Link to heading
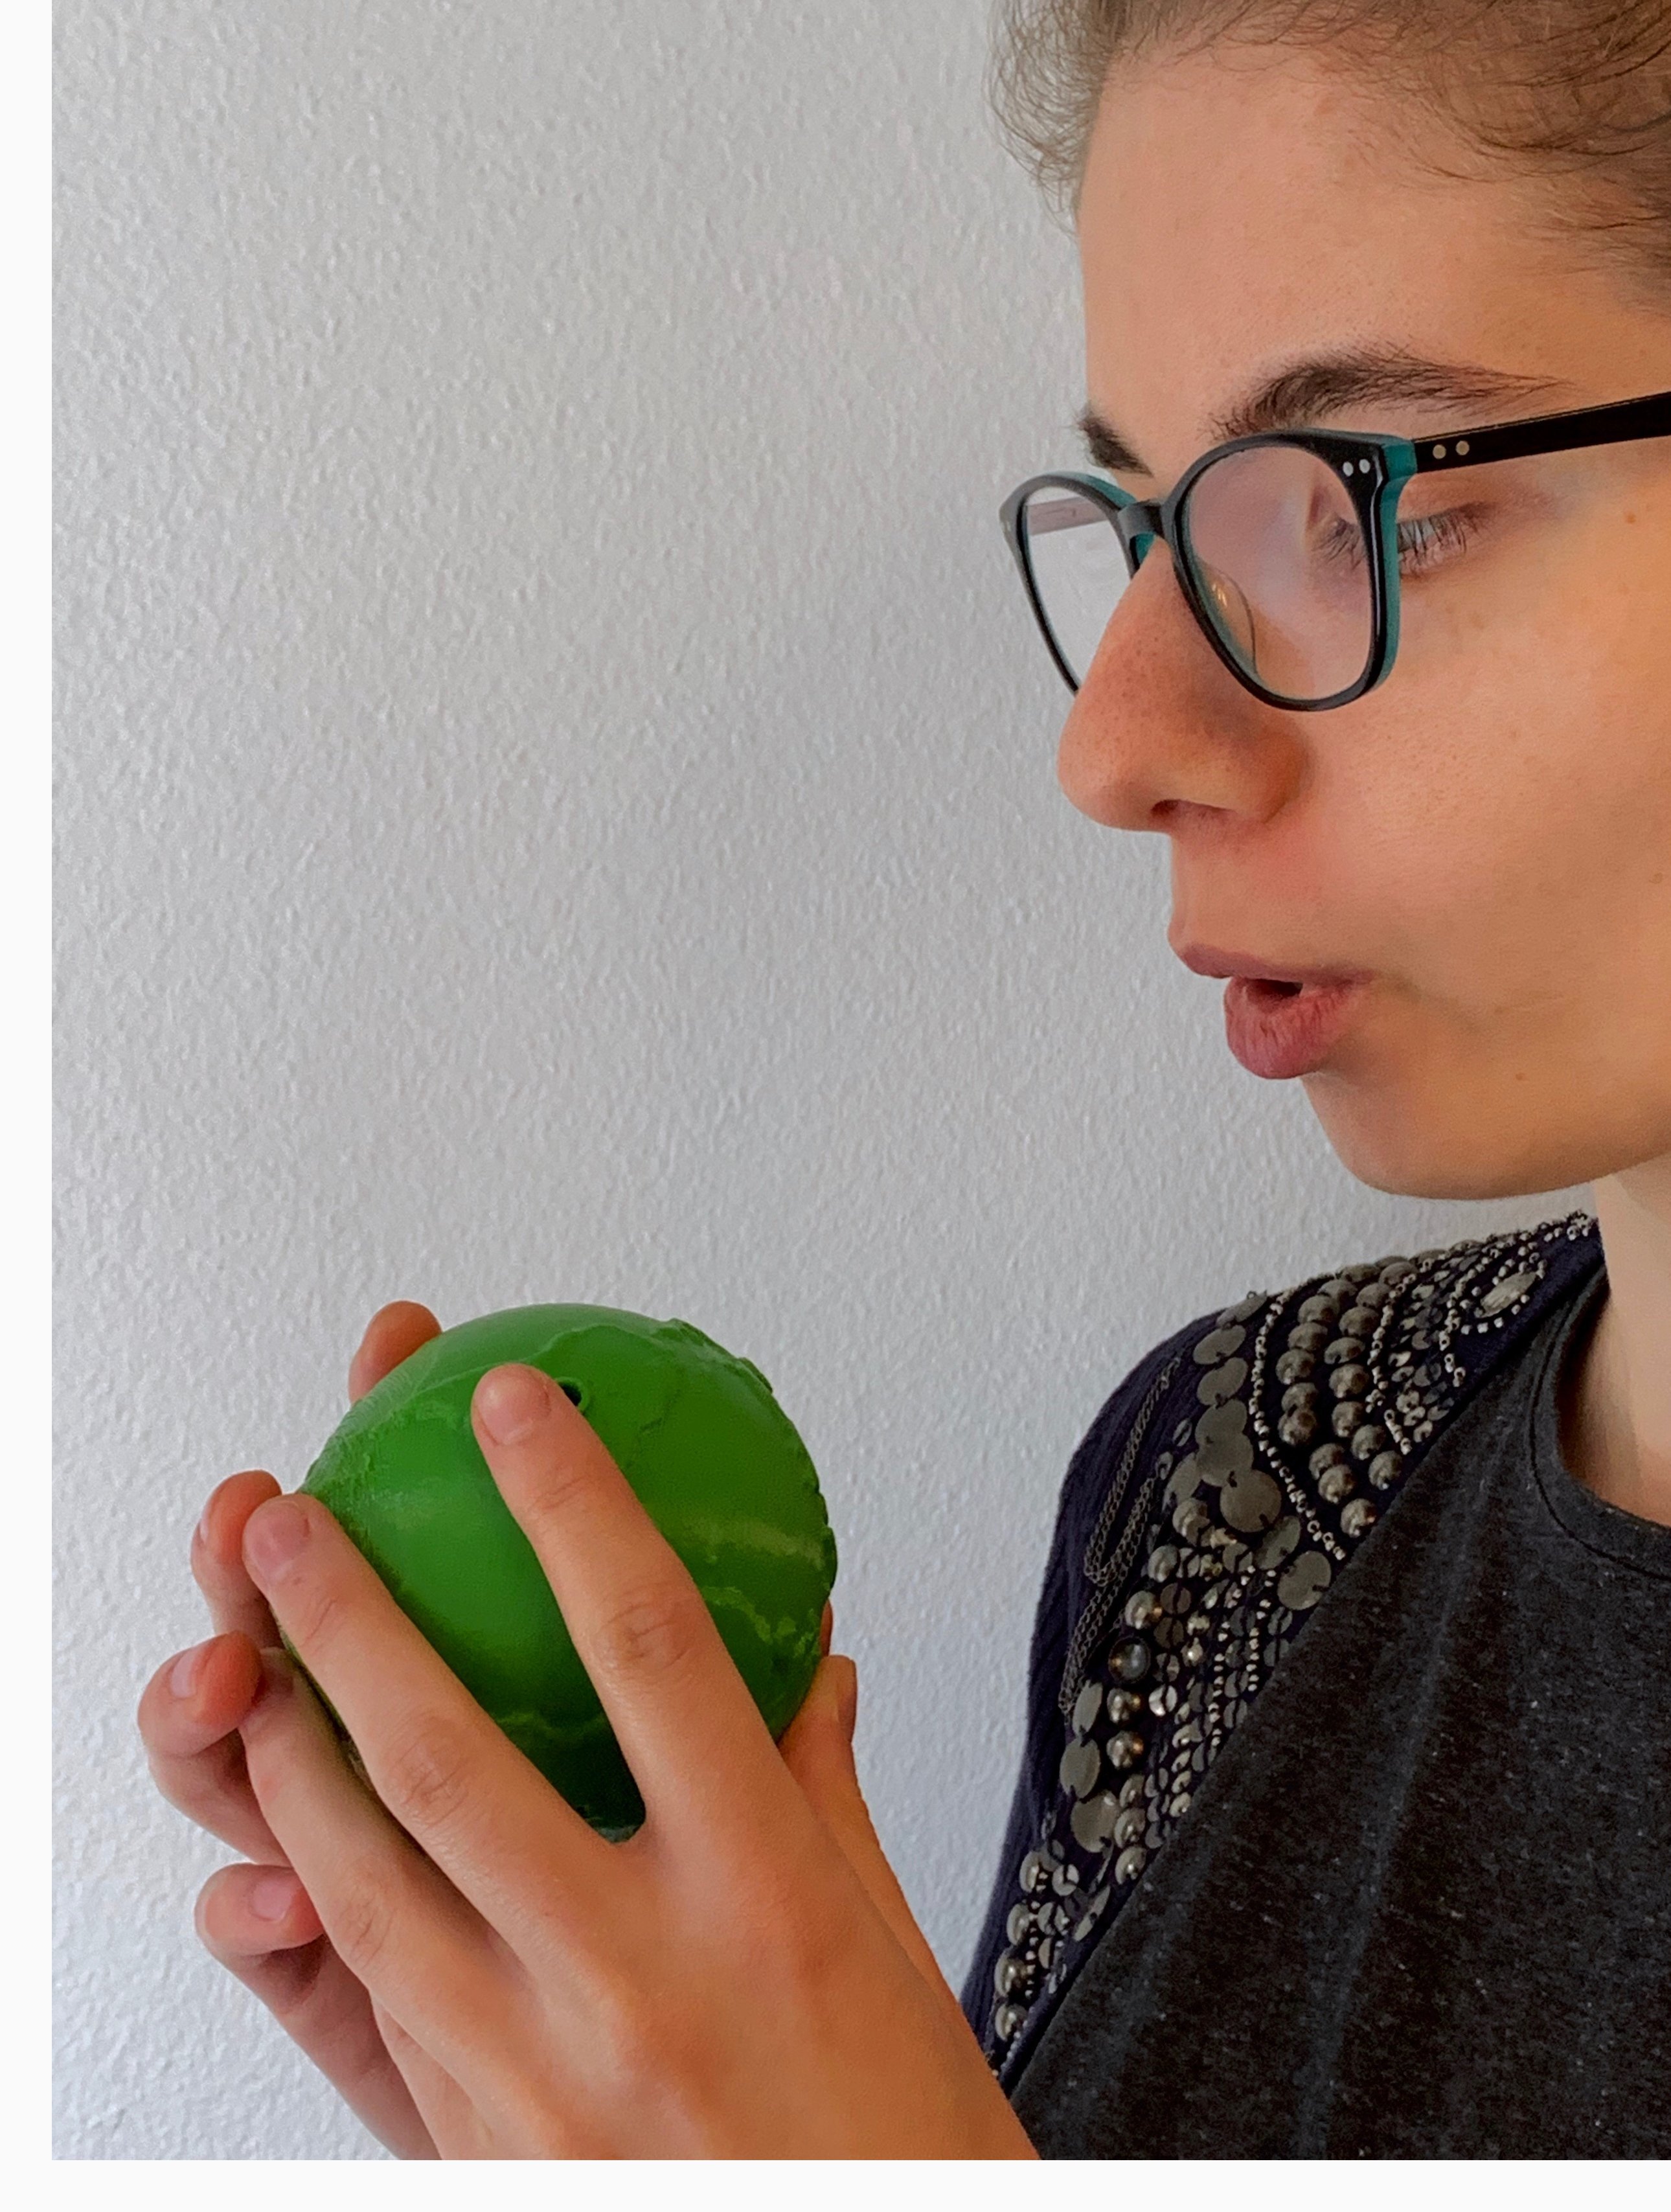
Have you ever blown on top of a bottle to make it make a sound (like in the picture to the right)? Of course you have, we all have. Bottles make a sound when gently blown across because of a physics phenomenon called acoustic resonance. What is happening here is that the volume of air that is inside the bottle vibrates in and outside of the bottle when somebody blows on its opening. The sound that it makes varies depending on the volume of air inside (which is why the bottle makes different sounds depending on how much liquid there is inside), and the size of the opening.
This principle is the same behind Blowhole: we embed cavities that, when gently blown, make a sound. Since we know the properties that vary this sound, we manipulate these to create a set of cavities that make different sounds when blown on. Since we know where each of the cavities are placed in the model, when each make their unique sound, we can identify what part of the model is being interacted with.
Blowhole walkthrough Link to heading
Blowhole is made up of three main components: a design software to add blowing-activated tags to existing models, the Blowhole-augmented objects, and a sound recognition software.
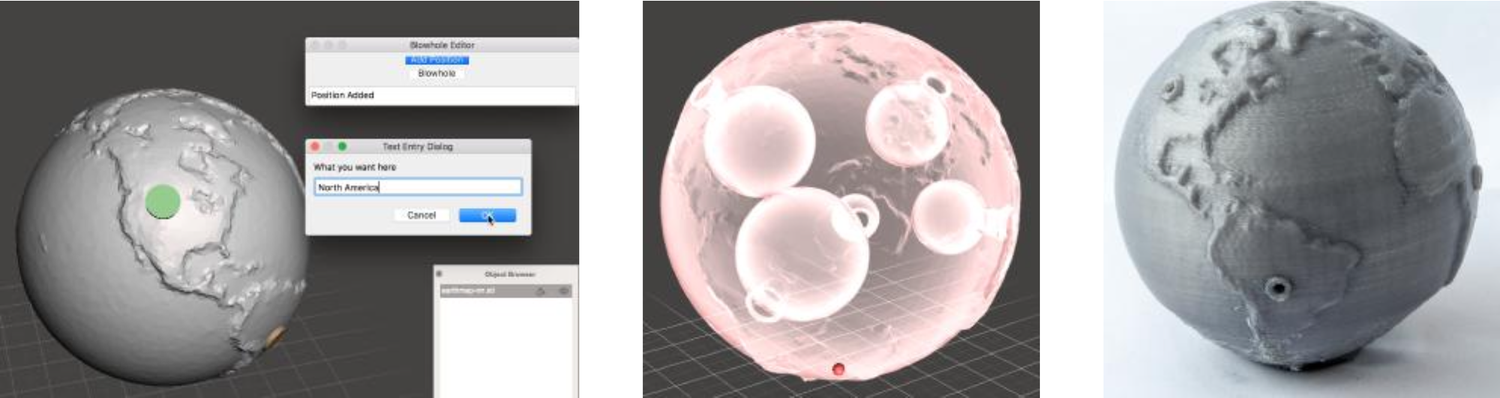
To add Blowhole tags to an existing 3D model the first thing to do is to import the model into Autodesk Meshmixer, since our software suite is built as a plugin for this software. Using our tool, the designer can select locations on the model and add specific tasks to do when activated (e.g., text-to-speach, control music playback, etc). Once this is completed, our software adds Blowhole cavities to the selected areas, and the object is ready to print.
Once the model has finished printing, the user load up our sound recognition software either on a computer or on their watch, and proceeds to blow on the desired parts of the model. Our system processes the sound, and extracts its fundamental frequency. This frequency is then matched to the known Blowhole frequencies, and triggers the previously specified tasks.
Blowhole cavities Link to heading
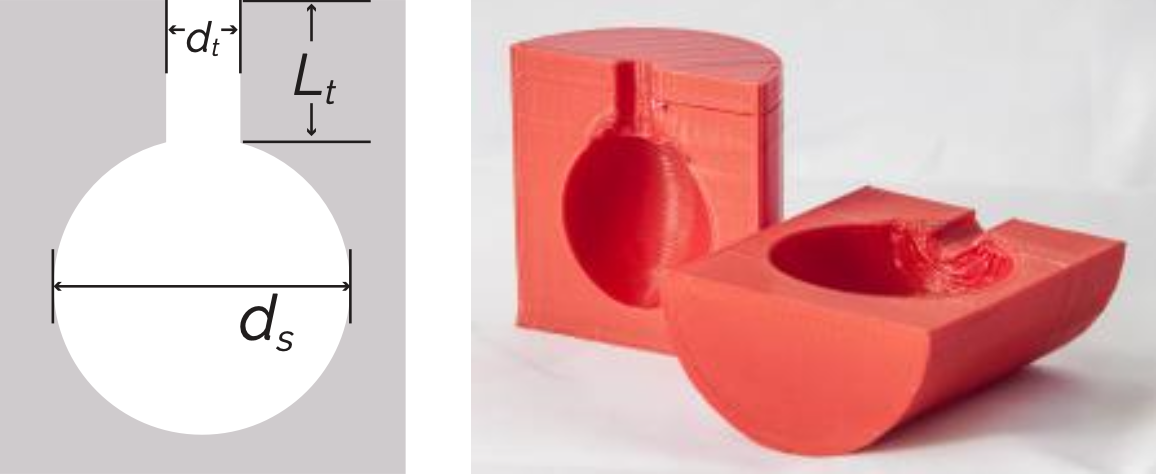
We wished for Blowhole to be as useful as possible, which meant that it should be able to add as many tags to models as it possibly can. To figure how many tags we could add, we printed a whole lot of them and tested them against our system. Before printing, though, we set up some parameters. We wished to have uniformity on how Blowhole-augmented objects looked, so we chose to keep the size of the opening . This meant that only the tube that connected the opening to cavity, and its volume were to be changed (Lt and Ds on the image below).
In order to work smarter and not harder, we ran a variety of linear descent simulations to create out Lt and Ds combinations, finally landing at 9 combinations with a recognition accuracy in our system over 90%.
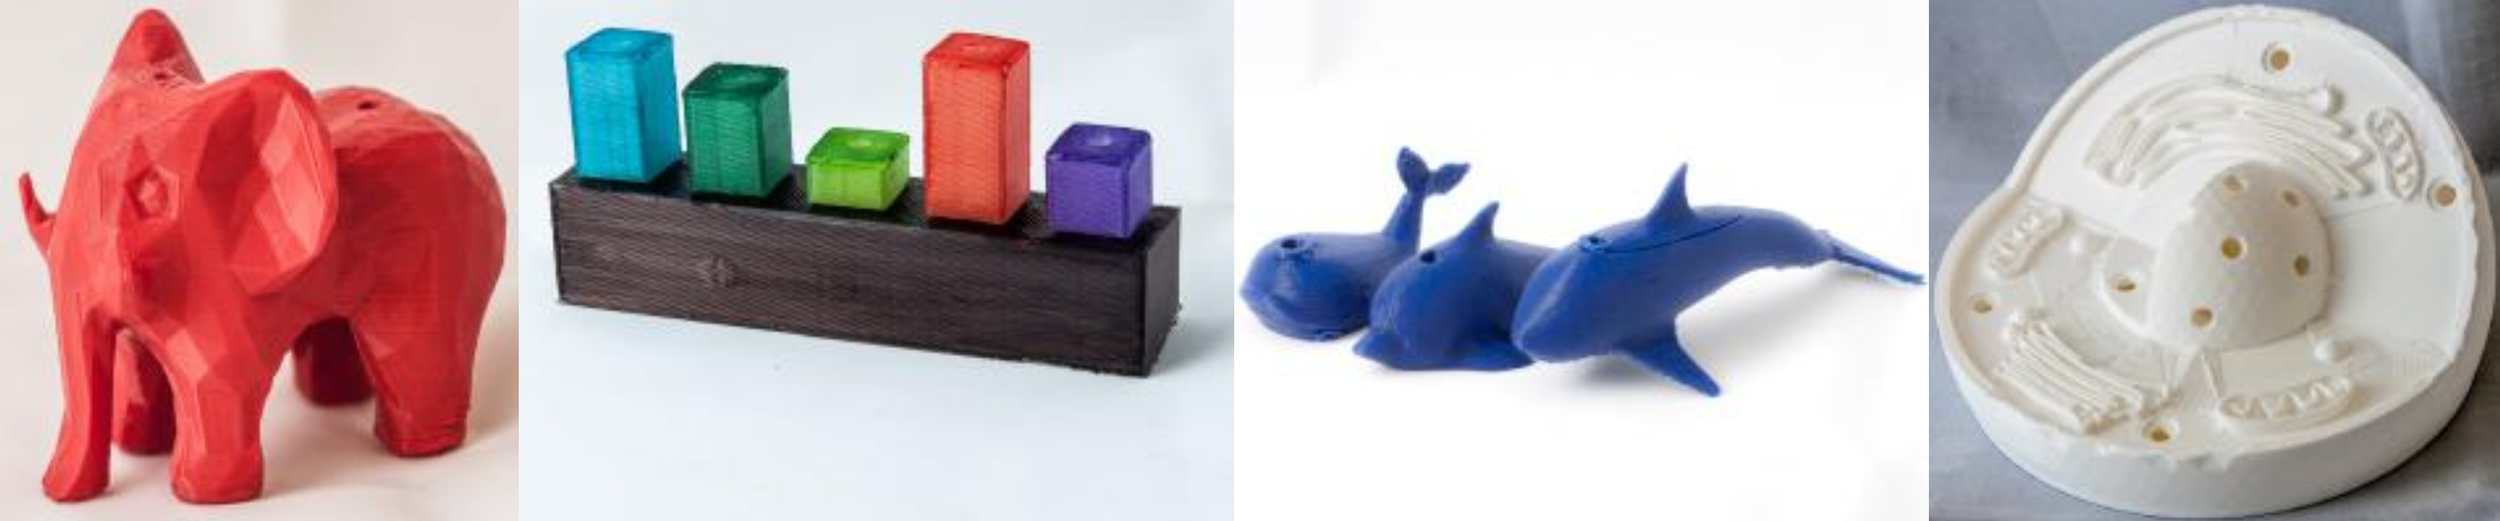
You can download the paper from the ACM Digital Library or directly from this site.